


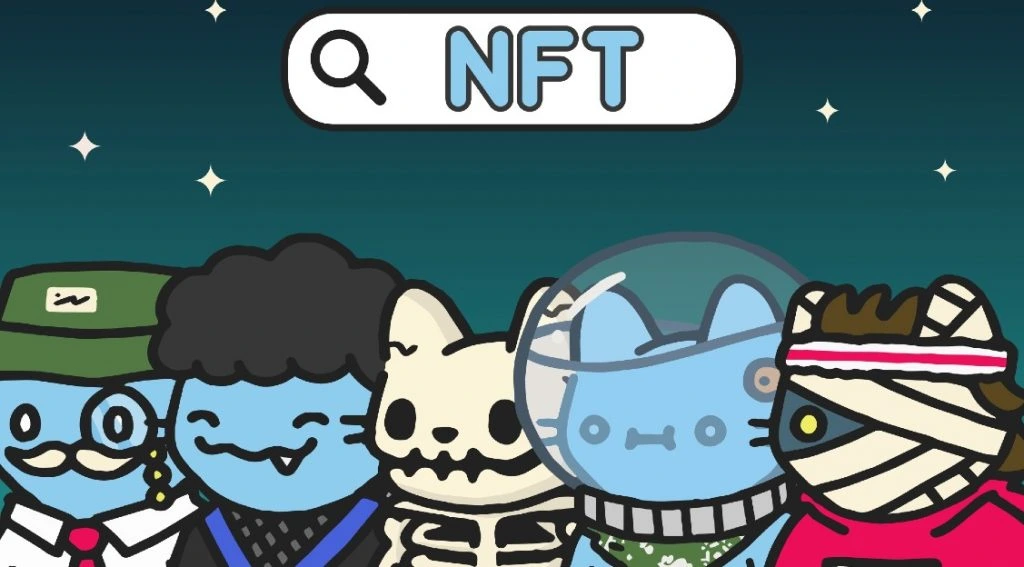
With the sale of Beeple’s “Everydays: The First 5000 Days” for a hefty $69 million last year, the interest in NFTs was piqued once again. Since then, Non-fungible tokens have become one of the most popular trends in the blockchain space due to their lucrative prospects and unique & appealing nature.
While many new aspirants think that creating NFTs involves some rocket science, it does not. In fact, with the availability of multiple NFT marketplaces, you can easily mint NFTs for free or at low costs without needing any coding skills. Although creating a viable NFT necessitates some essential steps like deciding the concept, selecting tools or software, and marketing your collection, in this guide, we will mainly focus on learning how to publish or create an NFT for free.
What are NFTs?
NFTs or non-fungible tokens are unique digital collectibles, which can be anything from digital art or music audio to videos and tweets registered on a blockchain. Each non-fungible asset is one-of-a-kind and cannot be substituted with any other piece, as in the case of cryptocurrencies. However, NFTs can be bought or sold where owners transfer the blockchain-based ownership of these items to the buyers.
What does NFT minting mean? Is it possible to mint an NFT for free?
Minting refers to the process of listing an NFT on the blockchain. During minting, your regular digital product or file “acquires value as an NFT” when it gets imprinted on the blockchain. Note that minting on traditional blockchains, like Ethereum, requires the creators to pay a Gas fee, which is the transaction fee charged for recording something on the blockchain.
However, now you can also mint NFTs for free in two possible ways. You can either “transfer” gas fees to your NFT’s buyer (Lazy Minting) or utilize a newer zero-fee blockchain.
How to create an NFT for free
Here we have explained how to create free NFTs on two of the most popular NFT marketplaces, OpenSea and Rarible. However, it is necessary to create a crypto wallet first before you can start minting, buying, or selling NFTs at marketplaces. So, let us look at how to set up a crypto wallet, Meta Mask, in this case, as most NFT platforms support it.
Setting up a Crypto Wallet (Meta Mask)

1. First of all, visit the chrome web store page, search for “Meta Mask,” and click on the “Add to Chrome” option. When a pop-up appears, click “confirm” to finalize the addition of Meta Mask browser extension.
2. After the installation of the extension, a Meta Mask webpage will appear where you have to click on the “Get Started” button. Next, a window will open up with two boxes: Import wallet and Create a Wallet. If you are not an existing user, go for the latter option (Create a Wallet).
3. Afterward, a webpage will appear where you have to set up a password for your new wallet. Next to this step, Meta Mask will direct you to create a “12-word secret recovery phrase” that will be a sort of master key to your funds and wallet.
4. After setting up your recovery code, you will finally see your wallet’s dashboard that would display all your crypto assets, buy and send options, activity log, and selected blockchain. Now, you are ready to mint your free NFT!
OpenSea
OpenSea is the most prominent and largest NFT marketplace recording millions of digital collectibles belonging to diverse categories. As of now, OpenSea supports Ethereum, Polygon, Klaytn, and Solana blockchains; however, free minting is only possible on the Polygon network.
Free Polygon minting
1. Firstly, modify your Meta Mask wallet settings to create Polygon NFTs. To do this, access your wallet from the browser extension, enter your password, click on the “Ethereum mainnet” option, and go for the “Add Network” button. At the newly opened window, fill out the details about the Polygon-Matic network and press “Save.” Now your wallet has become suitable for Polygon NFTs.
2. Visit the OpenSea website and click on the “create” button. The website will direct you to select a wallet where you can select the “Meta Mask” option. Note that as we are going for a Polygon NFT, ensure that the default wallet blockchain is set at Polygon.
3. After your account is ready, you can easily upload your digital file and input the necessary details at the “Create new item” window. OpenSea mentions all the supported file formats above the upload box and allows the uploading of images, audio, videos, and 3D models.
4. At the end, remember to select “Polygon” under the blockchain section and click “create” to mint your free NFT. Finally, for listing on the marketplace, set the price, duration, and royalties of your NFT and click on the “Complete listing” option. Now, your item will be available for sale on the OpenSea marketplace.
(Note that no matter which blockchain you use at OpenSea, the platform charges a fixed 2.5% service fee for every NFT transaction)
Rarible

Rarible is also a well-reputed and popular NFT marketplace that facilitates the minting, selling, and buying of digital items. As of now, Rarible supports Ethereum, Polygon, Tezos, and Flow blockchains. At Rarible, you can now utilize the “lazy minting” feature where your NFT is only minted at the time of purchase, and it’s the buyer who pays the gas fees.
Lazy minting
1. If you are new to Rarible, you first have to link your crypto wallet with the platform, Meta Mask, in this case. After connecting the wallet via extension and signing in, the website will give you a choice to create a “Single” NFT or “Multiple” collectibles. Go for the “Single” option here.
2. Next, you can start creating your NFT at the “Create single item in Ethereum” webpage. Here you have to upload your digital file, decide the marketplace setting, set a price, and enter additional information like name, description, and royalties. Importantly, don’t forget to toggle on the “Free minting” option to pass on the gas fees.
3. Lastly, click on the “Create item” button to complete your NFT. A message window will pop up with a message that “your NFT is successfully created,” allowing you to instantly share your item on social media like Facebook, Twitter, and Telegram.
(Note that Rarible charges 2.5% service fees on both sides of the transaction, which is separate from the minting fee that goes to the blockchain)
Final thoughts
The NFT market is growing by leaps and bounds amid widespread enthusiasm and public interest. Moreover, the lowered entry barriers, like the free minting of NFTs, have also propelled the NFT adoption. Accordingly, millions of users are exploring the opportunities in the NFT universe and capitalizing on this trend. However, creating free NFTs cannot solely help you to become successful. To stand out as an NFT creator, you must carefully draft your digital item, work on the concept, research the communities, and promote it through various channels.
You may also like: